

Best Plastic Prototyping Service Solutions for Rapid Product Development
2026-09-06
Speed matters more than ever when turning a concept into a tangible part. From snap-fit enclosures to high-wear functional components, the right plastic prototyping approach can mean the difference between a stalled launch and an accelerated product cycle. Yet many teams still juggle multiple vendors, inconsistent tolerances, and surface finishes that fail to impress stakeholders. This is where a partner like ProtoMat changes the game — not by offering just another 3D print, but by matching your exact stage of development with the most efficient process, whether that’s CNC machining, vacuum casting, or injection molding. In this post, we’ll break down what truly separates a best-in-class plastic prototyping service and how to choose the right workflow for rapid, repeatable results that keep your project moving forward.
Why Rapid Plastic Prototyping Beats Waiting on Traditional Molds
Waiting on traditional molds can stall a project for weeks, if not months. Rapid plastic prototyping flips that timeline entirely, turning what used to be a drawn-out pause into a sprint. Instead of watching the calendar while tooling gets cut and tested, teams can hold a functional plastic part in their hands within days. This speed doesn't just save time; it preserves momentum, letting design iterations happen while the idea is still fresh and the team is fully engaged.
Traditional molds demand a huge upfront commitment. Once the steel is cut, changing a wall thickness or adding a snap feature means expensive rework or starting over. Rapid prototyping sidesteps that trap. You can test a living hinge on Monday, tweak the draft angle on Tuesday, and run a new revision by Thursday. Each cycle is cheap and fast, so there's no fear of locking in a design too early. The result is a part that has already survived real-world handling, assembly checks, and user feedback before any production mold is even quoted.
For engineers and product managers, that shift changes the whole conversation. You aren't gambling on a mold you can't afford to modify. You're learning from actual plastic parts, not just CAD screenshots. Prototyping becomes an everyday tool rather than a milestone event, and the final design arrives at the molding stage with most of its risks already retired. In the long run, rapid plastic prototyping doesn't replace traditional molds; it makes sure they're only built once, for a part that already works.
Matching Your Prototype Material to Final Production Grade
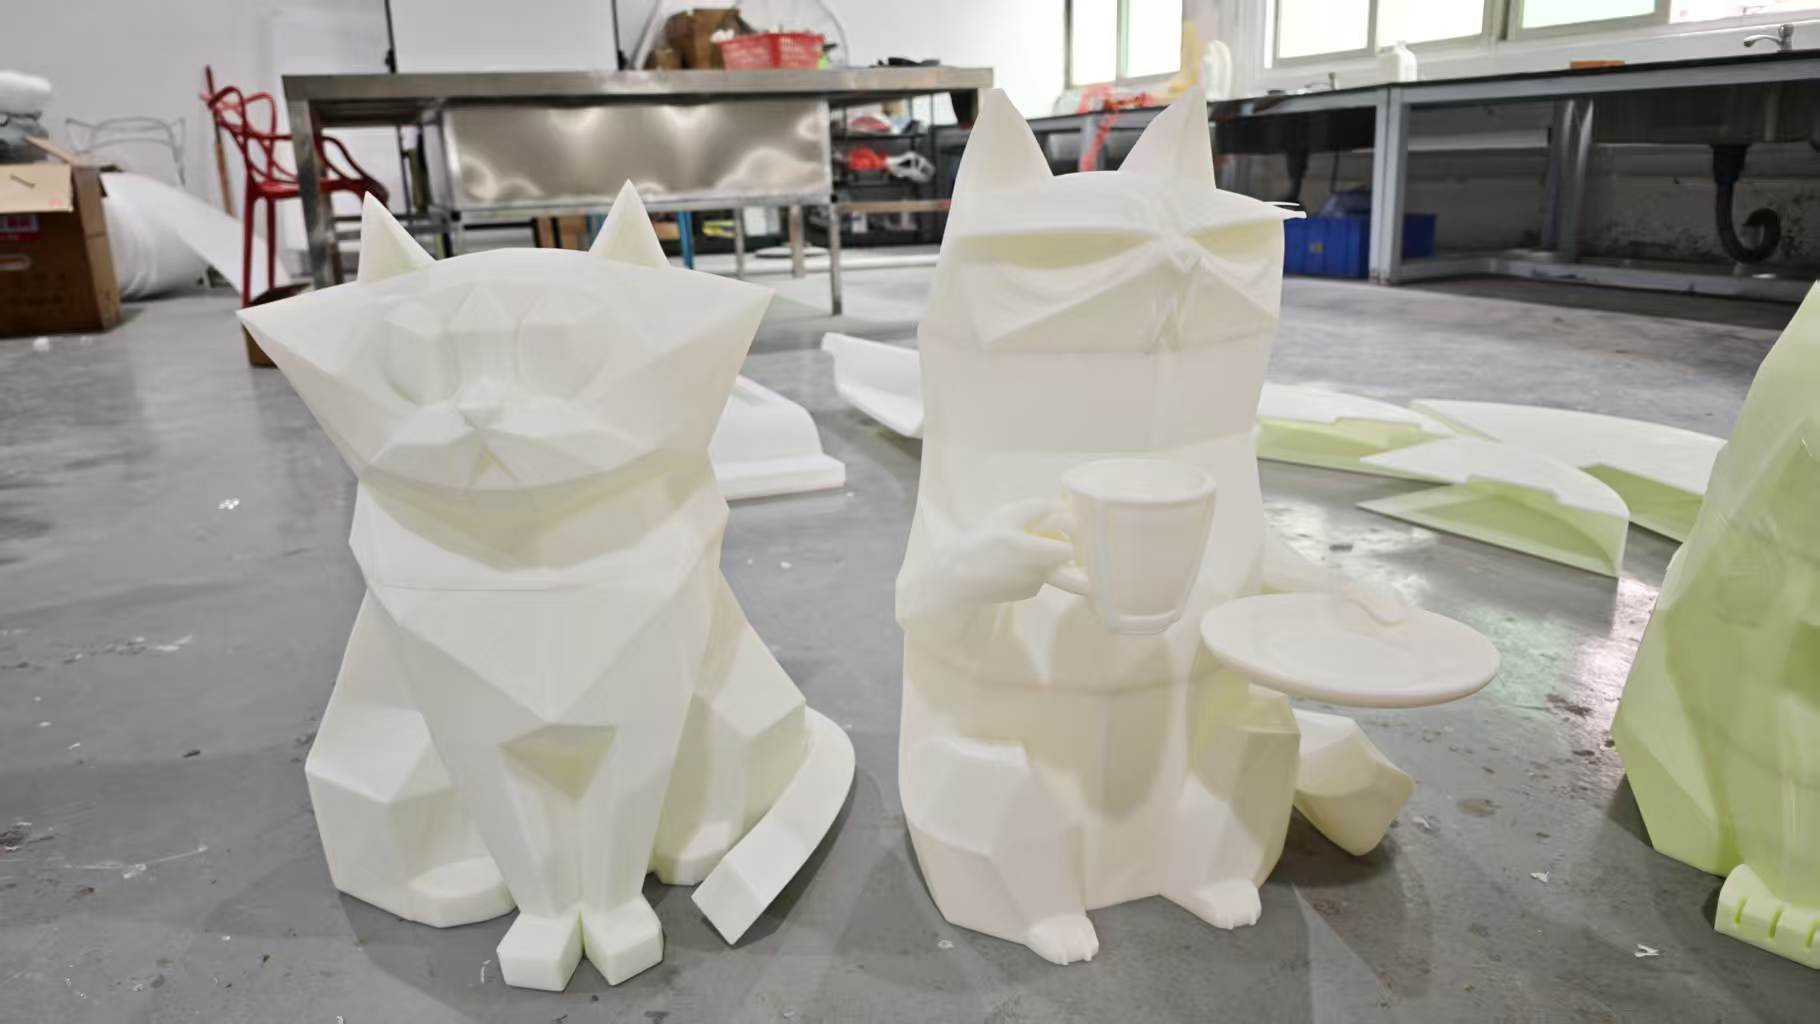
Early prototypes are often built with whatever material is cheap, fast to machine, or already sitting in the lab. That approach works fine for proving a concept, but it rarely stands up to the realities of injection molding, CNC production runs, or sheet metal stamping. Before you commit to a final design, take a hard look at whether your prototype's polymer, alloy, or composite can actually survive the intended manufacturing process and end-use environment.
Start by comparing the mechanical properties you tested against the datasheet values of a production-grade equivalent. Tensile strength, impact resistance, and thermal deflection might look similar on paper, yet behave very differently when wall thicknesses change or when you add ribs and bosses. Also pay attention to shrinkage rates, warpage tendencies, and how the material responds to secondary operations like ultrasonic welding or anodizing. A resin that prints beautifully in a desktop FDM machine might flow poorly in a mold or delaminate under repeated stress.
One practical path is to run a small pilot batch using the candidate production material early in the design freeze. This reveals surprises such as sink marks, knit lines, or dimensional drift that simulations miss. Work directly with your molder or machine shop to adjust gate locations, cycle times, or even the part geometry itself so that the final material performs as well as the prototype did in your hands. The goal isn't to replicate the prototype exactly, but to end up with a part that meets all functional requirements at full production volume and cost.
Tolerances, Finishes, and Details That Make or Break a Prototype
Early prototypes often fail not because the core mechanism is wrong, but because the tolerances were treated as an afterthought. A press-fit bearing that's off by 0.05 mm can turn a smooth assembly into a frustrating game of force and pray. If you're not specifying whether a hole is reamed, drilled, or bored, you're leaving the outcome to chance—and your machinist will make assumptions you didn't know you authorized.
Surface finish gets dismissed as cosmetic until a sliding component galls or a sealing surface weeps. A 32 Ra finish might be fine for a bracket, but a dynamic O-ring groove needs something closer to 16 Ra, and a lens housing may demand a bead-blasted texture to hide tiny sink marks. The trick is knowing which features need which finish, and which can stay raw.
Details like edge breaks, chamfers on leading threads, and corner radii where stress concentrates seem trivial on a drawing, but they're often the difference between a prototype that survives testing and one that dies on the bench. A sharp internal corner on an aluminum part might hold in a 3D print, but it will crack under load in metal. Spend a few extra minutes defining those little things—they're cheap on paper and brutally expensive to fix later.
Fast Iteration Loops That Cut Weeks Out of Development
Most teams don't lose weeks because they're bad at coding; they lose them waiting for feedback. A fast iteration loop means every change gets tested, deployed, and reviewed by real users within hours instead of days. Once you shrink that gap, you stop building on assumptions and start fixing what actually breaks.
The mechanics are less glamorous than the results: automated test suites that run in minutes, one-command deployments, and feature flags that let you ship unfinished work dark. You don't need a perfect pipeline, just one that removes the manual steps people usually skip when they're tired.
The real payoff is compound. When a fix takes twenty minutes instead of two weeks, you make ten small corrections instead of one big risky change. Teams that adopt this rhythm waste less energy on rework and spend more time on the parts of the product users actually notice.
From Single Part to Small Batch Without Redesigning
The shift from producing a single part to handling small batch runs doesn't have to mean tearing up your design and starting over. In fact, with a few thoughtful adjustments to tooling, fixturing, and process flow, you can move from one-off prototyping to limited production without redrawing a single line. The key is to treat the first part not as a final product, but as a template that already contains the DNA of efficient repeat manufacturing—if you know where to look.
Consider how your machining strategy changes when you go from one part to, say, twenty. You might consolidate setups, invest in soft jaws that can hold multiple blanks at once, or tweak toolpaths to reduce air cutting. None of these changes require altering the part geometry—they simply make the existing design easier to produce in small quantities. By separating design intent from manufacturing strategy, you create a bridge between prototype and batch production that feels less like a redesign and more like a natural evolution.
Small batch production also opens the door to material and finish adjustments that wouldn't make sense for a single prototype. Maybe you switch from 6061 aluminum to a slightly cheaper 5052 grade, or explore bead blasting instead of hand polishing. These choices don't touch the CAD file, yet they can dramatically improve cost per part and lead time. The outcome is a process where scaling up feels fluid—almost invisible—because the original design was never the bottleneck to begin with.
Evaluating a Plastic Prototyping Partner Beyond the Quote
A low unit price can mask costly surprises. Ask for sample plaques or micro-runs in the actual resin grade you plan to use, not just a generic ABS. Check whether the shop controls shrink and warp on thin walls, living hinges, or snap fits. If they can't discuss draft angles, gate placement, or weld lines without a script, walk away.
The real test is how a partner handles your CAD before cutting steel. A capable prototyping house will return design-for-manufacturing notes that flag undercuts, sink marks, or impossible tolerances within a day or two. Look for plain-language explanations of why a feature needs to change, not just a marked-up PDF. That back-and-forth saves weeks later.
Finally, assess how they behave when something goes wrong. Prototyping is iterative by nature, so a shop that hides behind the quote or charges for every minor revision won't survive your project. Ask about their policy on rework, expedite fees, and material traceability. A partner who shares photos from the press and calls before shipping a warped part is worth far more than a 10% cheaper invoice.
FAQ
For fast turnaround, CNC machining from solid plastic blocks and industrial SLA or SLS printing typically deliver functional parts within days. CNC gives you tight tolerances and real material properties, while SLS handles complex geometries without support structures.
Think about what you're testing. If it's form and fit, 3D printing wins for speed and low cost. If you need to validate mechanical strength or snap-fits, CNC machining from production-grade plastics like nylon or acetal gives more realistic behavior.
Yes, with the right finishing. Vapor smoothing on SLS parts, sanding and painting on SLA or CNC parts, and adding texture through bead blasting can closely mimic molded surfaces. For small batches, urethane casting from a silicone mold is often indistinguishable from injection molding.
PEEK, PEI (Ultem), and PPS are go-to choices. CNC machining is usually the best route because these materials are difficult to print consistently, but some high-temp SLA resins and SLS powders exist if geometry demands additive methods.
Most teams go through three to five iterations. Early iterations focus on form and basic assembly, later ones on tolerance and material behavior. Using a mix of 3D printing for fast checks and CNC for functional validation keeps the cycle tight.
Urethane casting from a 3D-printed master pattern is often the most cost-effective. You can get 10-50 parts in production-like materials with good surface finish, color matching, and even overmolding effects for a fraction of injection mold tooling costs.
Choose the right process and material pairing. For thin walls, SLS nylon tends to stay stable better than SLA. For CNC, stress-relieving the stock before machining and using sharp tools prevents heat buildup. Letting parts rest between operations also helps.
Yes, but material choice is critical. CNC-machined polypropylene or SLS nylon can survive repeated flexing, while standard SLA resins are often too brittle. For true living hinge validation, CNC polypropylene is the closest match to injection-molded behavior.
Conclusion
Speed in plastic prototyping isn't just about getting parts sooner—it's about changing how design decisions get made. Traditional injection molds can lock you into weeks of tooling before you ever hold a sample, while modern rapid prototyping services put functional parts in your hands within days. That shift lets teams test wall thickness, snap fits, and living hinges against real stress instead of CAD assumptions. The trick is choosing a process that preserves production intent: a prototype printed in ABS-like resin may not reveal how a glass-filled nylon part will behave under load. Working with a supplier who understands material substitution and can suggest grades that mirror your final production resin keeps the feedback loop honest.
Details separate a useful prototype from a misleading one. Tight tolerances on mating surfaces, the right surface finish for sealing or cosmetics, and consistent layer adhesion all affect whether a test part predicts real-world performance. Rapid iteration works best when a partner offers quick-turn adjustments without forcing a redesign between single parts and small batches—so you can validate one geometry on Tuesday and run twenty units for beta testing on Friday. Beyond the quote, look for a prototyping team that asks about end-use conditions, assembly steps, and failure modes. That kind of engagement matters more than a low per-part price, because the goal isn't just a plastic part; it's confidence in the product you're about to commit to.
Contact Us
Contact Person: Joe
Email: [email protected]
Tel/WhatsApp: +8613799507208
Website: https://www.3dprotomat.com/